Coupons for:
Michael’s ( www.michaels.com )
AC Moore ( www.acmoore.com )
Joann’s Fabric ( www.joanns.com )
Hobby Lobby ( www.hobbylobby.com )
Deals and free offers at Dick Blicks Art supply (www.dickblicks.com)

Posted in beading, Card-making, Coupons, craft books, craft storage, Craft Store, Craft store coupons, Craft Stores, Craft supply storage, Craft tools, Crafts, DIY, Freebie, Freebies, Greeting cards, Halloween, Halloween crafts, Handmade, Holiday crafts, How to --Crafts, How-to jewelry making, jewelry making, Jewelry supplies, Jewelry suppliy stores, Michael's, Organizing supplies, Papercrafts, Scrapbooking, Storage and organization
Tagged AC Moore, art freebies, bead storage, beading, card making, card making supplies, christmas, christmas cards, christmas crafts, christmas jewelry, craft books, craft freebies, craft ideas, craft storage, Craft store coupons, craft supplies, craft supply stores, craft tools, crafting, crafts, Dick Blick Art supplies, Dick Blick's, DIY, freebies, greeting cards, Halloween crafts, Hobby Lobby, Holiday crafts, holiday iseas, holidays, How to, How to - crafts, How to - jewelry making, How to - scrapbooking, How to cake decorating, how to stamping, jewelry ideas, jewelry making, jewelry making ideas, jewelry supplies, Jewelry supply stores, jewelry tools, Joann Fabrics, Joann's, Michaels, organizing art supplies, Organizing craft supplies, organizing supplies, Papercrafts, scrapbooking, scrapbooking supplies, scrapbooking tools, stamping, stamping storage, stamping supplies, storage, Storage and organization, storing craft supplies
I volunteer for a local fundraising organization that supports only our local community hospital: Cape Cod Hospital Auxilary.
This year one of our fundraisers will be an Auction of chairs refinished and redesigned by local artists. You can look at all the chairs at www.ccha-orleans.org
This is my “BEFORE” chair, although I did sand it before I took the picture, oops.
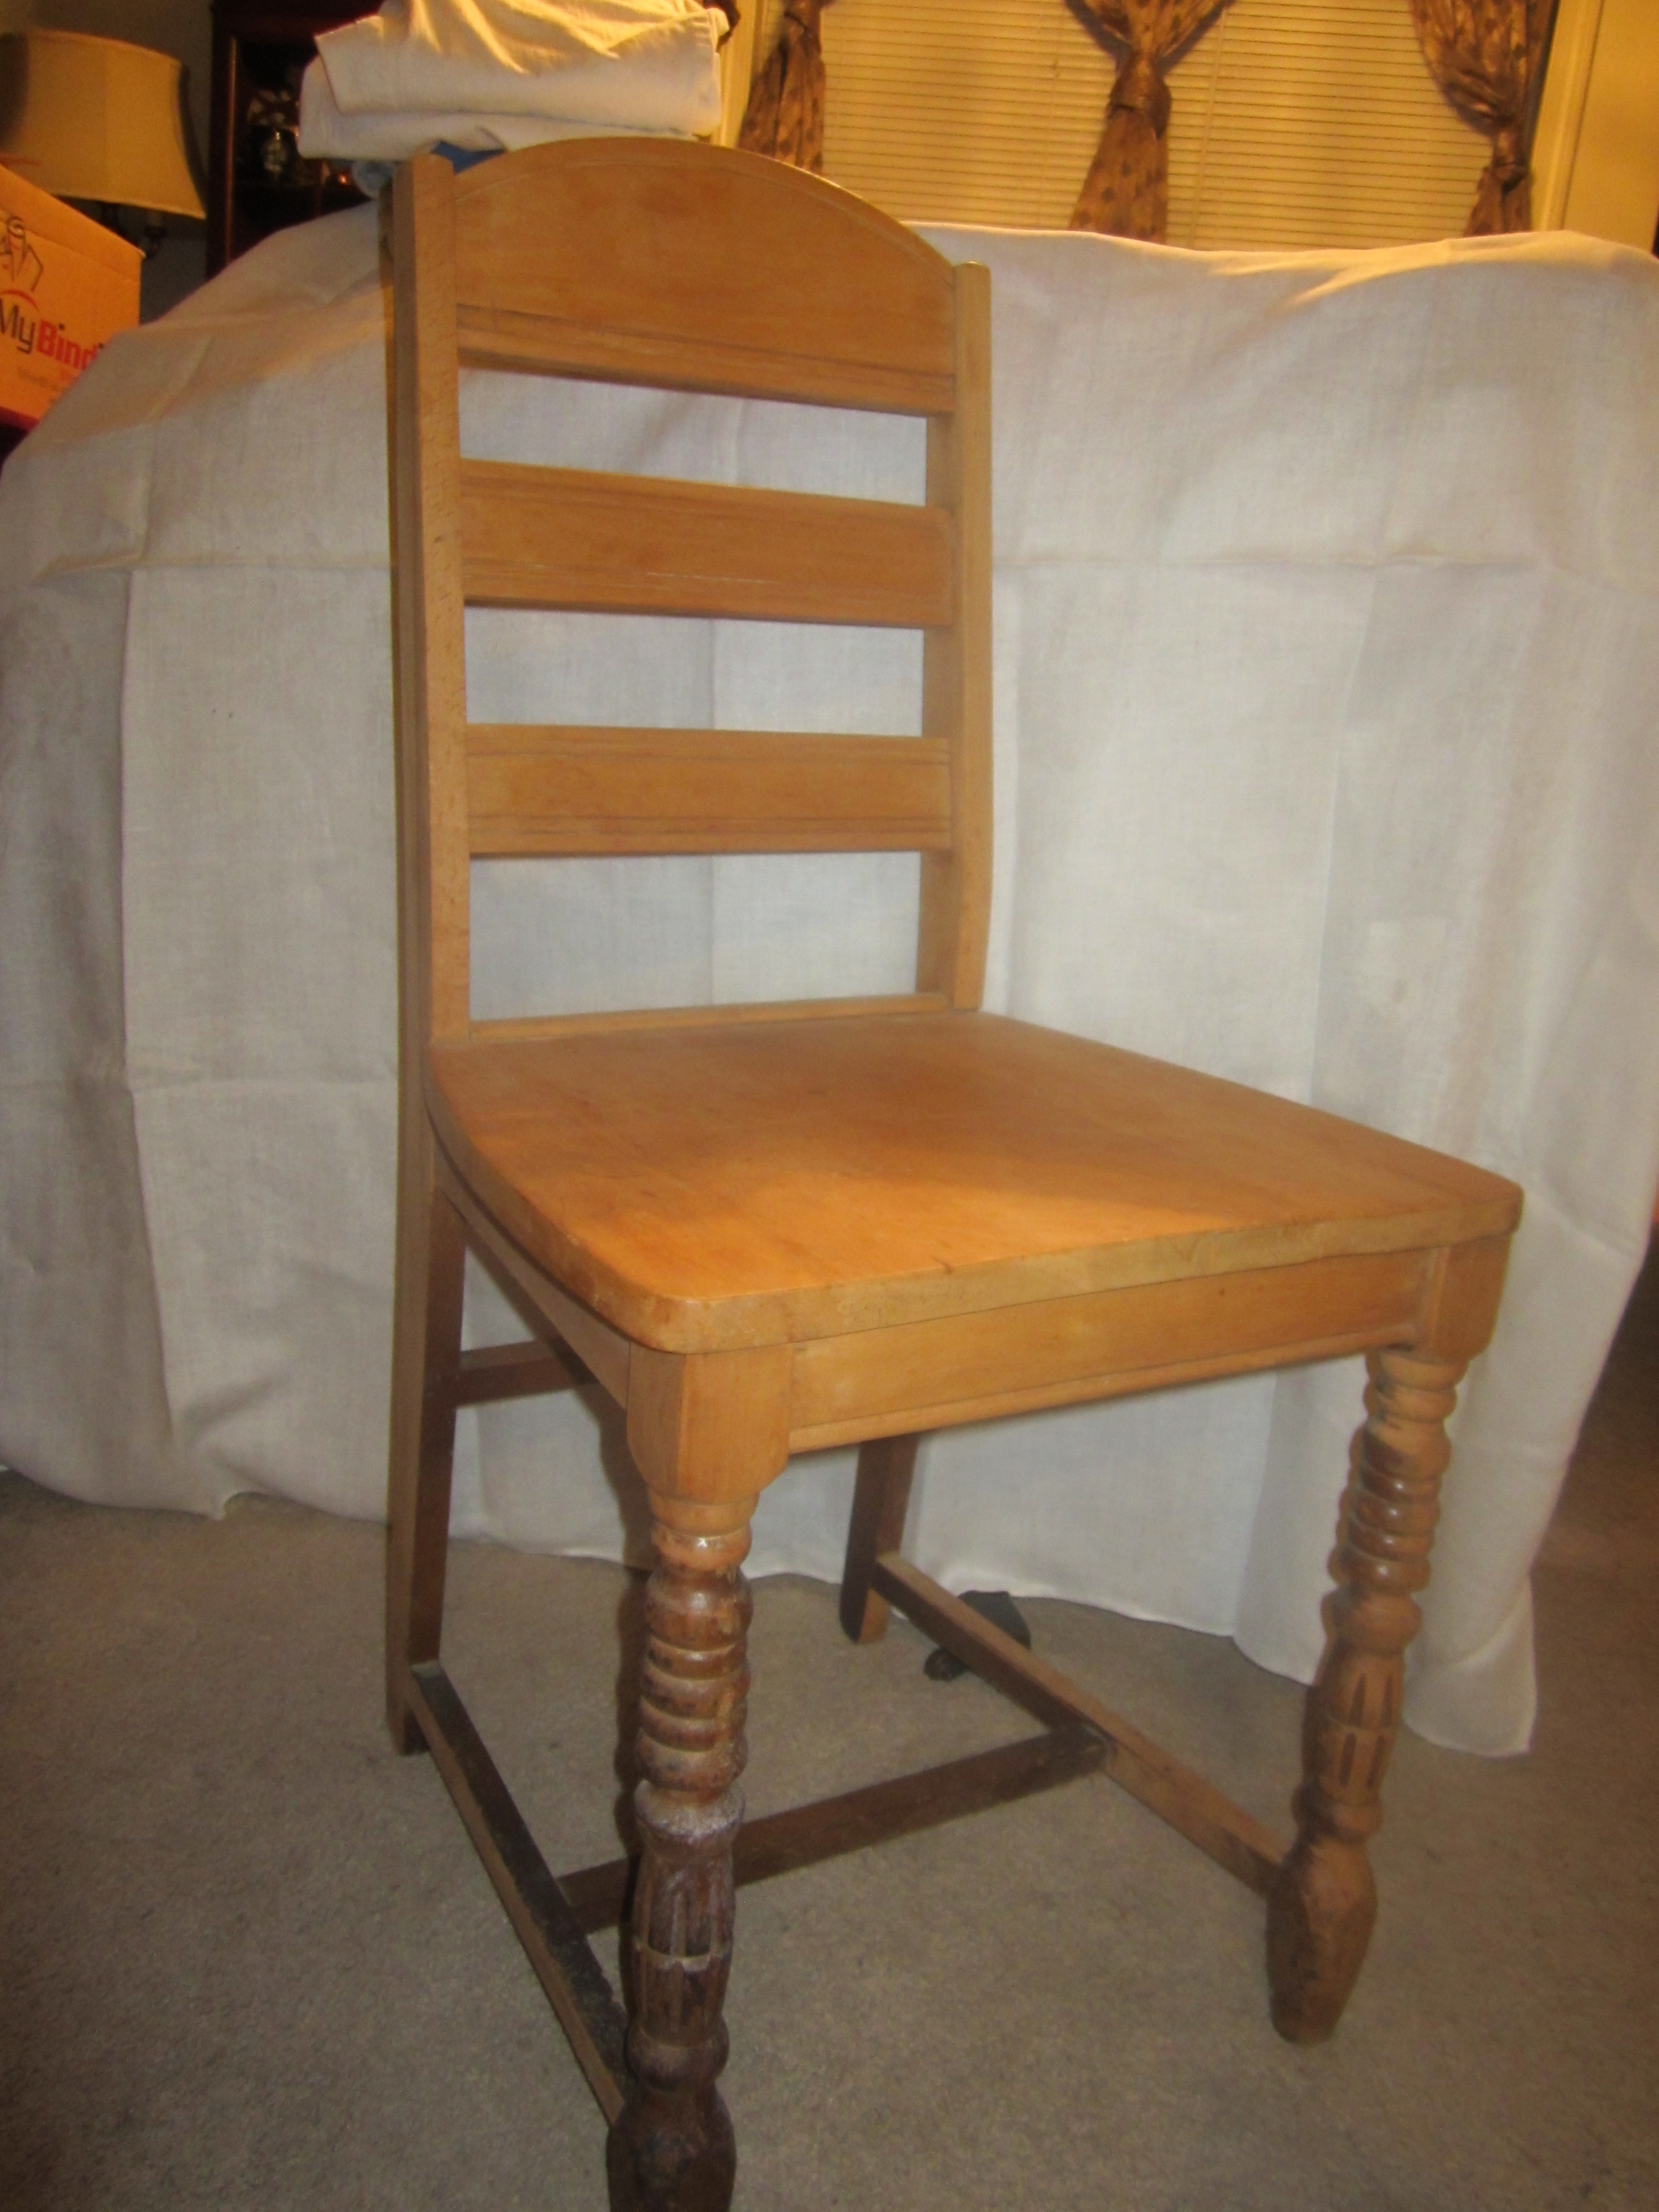
Here are multiple views of the final results of the chair I designed.


Chair was coated in resin after these pictures were taken.
My chair was chosen to be part of a pre-auction display at the Cape Cod Museum of Art in Dennis, MA.
In addition to this chair, I did another chair that was only for advertising purposes. Multiple views are shown here. This chair looks better in person. I have had many requests for this chair as it will not be auctioned. Chair already has already been promised to someone 😦


Check out the web site listed above to see these chairs and many others.
Information about reserving a place at the auction is available on the website.
–Em
Posted in Auction, chair, Crafts, Designing, DIY, fundraising, Home Decor, One-of-a-kind original, Original, Original designs, refinished chair
Tagged auction, Cape Cod Hospital Auxilary, chair, craft, DIY, fundraiser, fundraising, handmade, local community hospital, one-of-a-kind, one-of-a-kind design, One-of-a-kind original, Original, original design, Original designs, refinished chair
From Kryloncrafts.com


| Ordinary painter’s tape and spray paint are great tools for creating affordable art fast. Customize colors and images to suit your personal style. | |||
What you need:
Tips Temperatures influence the length of project dry time. Spray paints are generally very quick drying. Getting very good tape adhesion by rubbing the painters tape edges will go a long way to insure your project comes out nicely. This technique can be easily adapted to different colors and images. Instead of adhering leaf cutouts, stencils could also be used to get a similar look. |
 |
||
How and How Long:
Approximate project time: 3 hours. |
What it Costs:Approximate cost is $35. |
Posted in altered items, Crafts, DIY, Handmade, How to --Crafts, Krylon, Wall Art
Tagged crafting, DIY, handmade, How to Crafts, Krylon, Wall art
1. Do not give beads to babies and small children.
2. Make sure there is NO lead in children’s jewelry
3. Please use a wire guard.
4. Be good to your tools. Use them appropriately. (The right tool for the right job.) Keep them clean, sharp, etc. (I have trouble following this rule; so many tools have additional uses. I keep doubles and triples of some tools because I need one pair to take care of and use appropriately while destroying the others!)
5. Don’t use hammers and pliers for crimpers. Use one of the many crimping pliers available.
6. Don’ copy other’s designs. Use them as a learning experience or for inspiration.
7. Work over a surface with walls or lips so spilled beads don’t send you into tears when they end up in the rug or roll across the floor. If they spill…oh well, **it happens.
8. Never take credit for another’s design. Copying is fine, but don’t claim it as your own idea if asked. Ideas are meant to be shared, but give credit where credit is due.
9. Always spread your wings and try different techniques, tools, and ideas.
10. Have fun.
11. Share your work, wear it, use it, [for gifts (always put a few business cards with gifts)], show it, and sell it. The reason we bead is to create beautiful things, so let the world see what you’ve made.
12. Add your comments here. Thanks for sharing.
Marianne
Posted in beading, beading commandments, commandments of beading, commandments of crafting, crafting commandments, Crafts, How to --Crafts, How-to jewelry making, Jewelry, jewelry making, Uncategorized
Tagged beading, beading commandments, commandments of beading, commandments of crafting, crafting, crafting commandments, jewelry making, making jewelry


Posted in Birthday cards, Card-making, Crafts, Cricut, Cricut cards I made, DIY, Greeting cards, Handmade, Handmade cards, One-of-a-kind original, Original designs, Papercrafts
Tagged birthday cards, card-making, cards, Cricut, Cricut cards I made, DIY, greeting cards, handmade, handmade cards, One-of-a-kind original, Original designs, Papercrafts
It was a gloomy, rainy Sunday here in Billsville, so while not ideal for an afternoon hike, absolutely perfect for a day spent inside crafting up a storm. A friend of ours had passed along a link to a DIY Newspaper Basket a few weeks ago, and I was obviously intrigued. This weekend was a great time to give it a go. I saddled up with the discarded Sunday Times, adjusted the directions slightly, and suddenly had a funky place to stash a pile of plastic bags I’ve been accumulating.

Materials: Newspaper Scissors Staples or glue

Directions: 1. Use scissors to cut the seam of the newspaper to create individual 12″x 22″ pages.

2. Fold each individual page lengthwise. First in half, and then in quarters, and then in eighths. The resulting strip should be about 1.5″ thick and 22″ long. I needed around 20 for my basket.


3. Begin weaving the strips together, using a staple or glue to secure as needed.

4. Continue weaving the strips to the size of your liking. I made by basket 5 strips x 5 strips.

6. For the sides of your basket, just fold the strips to a 90 degree angle and continue weaving. Go nice and slow, keep the weave tight, and again, use staples or glue as needed. You’ll need to probably attached strips to one another as you weave the diameter.

7. When you reach the ends of the newspaper strips, fold the ends down inside the basket and secure with staple or glue. I then used another strip of newspaper to border the top edge of the basket. My glue gun broke as I did this, so I used staples to secure. You could also edge with ribbon, if you really want to get fancy. Now go stash something in it!

Photo: Courtesy of Ashley Weeks Cart
Posted in craft storage, Craft supply storage, Crafts, DIY, DIY craft Storage, Handmade, How to --Crafts, Organizing supplies, Papercrafts, recycled, Storage and organization, Tutorials
Tagged craft storage, craft supply storage, crafting, DIY, DIY craft storage, DIY storage, handmade, homemade organizational items, How to, Organizing craft supplies, organizing ideas, Papercrafts, recycled, storage, Storage and organization, ttutorials
I have been using Kleenex tissue boxes to make tags and business cards. The kleenex box designs can make for interesting or pretty backs to the tags and cards. The small pieces can not go thru your printer so I print stickers and then stick them on the cut box pieces.
I purchased a tag punch which makes even tags with a hole pre-punched.
I found this tutorial for using cereal boxes for business cards. Boxes could also be used for tags. Don’t have to utilize just cereal boxes. Any boxes that can be cut to fit your printer would work; cracker boxes, baking mixes, and more.

Successful business is all about out of the box thinking – and what could be more out of the box than business cards handmade out of old cereal boxes?! If you’re looking for a card that will set you a part but won’t break the bank, cereal boxes make sturdy, unique canvases for your networking needs. Not so much a business guru, but want to grab the attention of that dream boat seated in aisle 2? Craft your own calling card that will truly knock the airline socks off that cutie.
Materials: Cereal boxes Scissors (even better, a paper cutter for straight edges) Printer Computer program like MS Word to format cards
Directions: 1. Munch on some of your favorite Wheaties, and save up those boxes. 2. Cut the boxes so that you have two rectangular “pages” on which to print your cards. (Using a paper cutter helps immensely in keeping all the edges straight). 3. In MS Word, format labels that are sized 3.5 x 2 inches (the traditional biz card) or whatever size you’d like your cards to be. 4. Create your cards’ content in the labels. 5. Often the rectangles from the cereal boxes are smaller than an 8.5 x 11 sheet of paper. Measure your particular rectangles and in ‘Page Setup’ insert your custom size. 6. To help make cutting easier, print the borders of the labels. 7. Now load your cereal box paper into the printer (making sure that the text will print on the blank cardboard side) and print away. (Sometimes you have to help *coax* this heftier stock through the machine). 8. Once you’ve printed, use the paper cutter to dice ‘em up into individual business cards. These cards are cereal killers – in a crushing the competition kind of way.
Photo: Courtesy of Ashley Weeks Cart
Posted in Business cards, Crafts, DIY, Gift tags, Handmade, How to --Crafts, Product/price tags, re-used, Tutorials
Tagged business cards, handmade, How to, price tags, product tags, recycle, recycled, recycled food boxes, recycled tissue boxes, tutorial
The Graphics Fairy has some great vintage clipart, backgrounds, steampunk clipart, and more.
Posted in backgrounds, Card-making, Clip-art, Crafts, Freebie, Freebies, Greeting cards, Handmade, Handmade cards, mixed-media, Papercrafts, Scrapbooking, Steampunk clipart, Vintage, Vintage clip-art
Tagged backgrounds, cards, clip-art, crafting, drawings, freebies, handmade, Papercrafts, scrapbooking, steampunk, Steampunk clipart, vintage, Vintage clip-art, vintage drawings
Paper
 Scrapbook paper storage solutions are easier to come by than you think! See if you have an old accordion file somewhere in the basement. If you do, you’ve got yourself one of the best scrapbook paper organizers out there!
Here’s a great way to keep your single scrapbook paper sheets organized. All you need is a collapsible sweater shelf and a few of these storage bins for paper, available at Cut Rate Crafts. Label the bins by color, paper theme, or whatever system works for you.
I have hanging shoe storage bags hanging on the doors of my studio. I store surplus supplies in them. (Look for an upcoming post with pictures of my studio)
I use a pant/slacks hanger for rolls of ribbon. This is hanging from the ceiling near my desk. (Picture will be included in upcoming post with pictures of my studio).
Posted in Coming soon, Crafts, How to --Crafts, Organizing supplies, Organizing tools, upcycled
Tagged crafters, crafting, homemade organizational items, How to, organize a studio, organized art studio ideas, organizing art tools, Organizing craft supplies, organizing craft tools, organizing ideas, organizing your art studio, organizing your studio, unusual uses of ordinary objects, upcycled
 Bead Soup BLOG Party
Bead Soup BLOG Party
Bead Soup BLOG Party